Configuring Roles and Privileges
Roles: Defining User Profiles
Understanding Roles
Roles are essential in defining distinct user profiles within Qodly. Each role corresponds to a specific set of privileges, and access levels (Permissions).
Detailed Permission Review for Roles
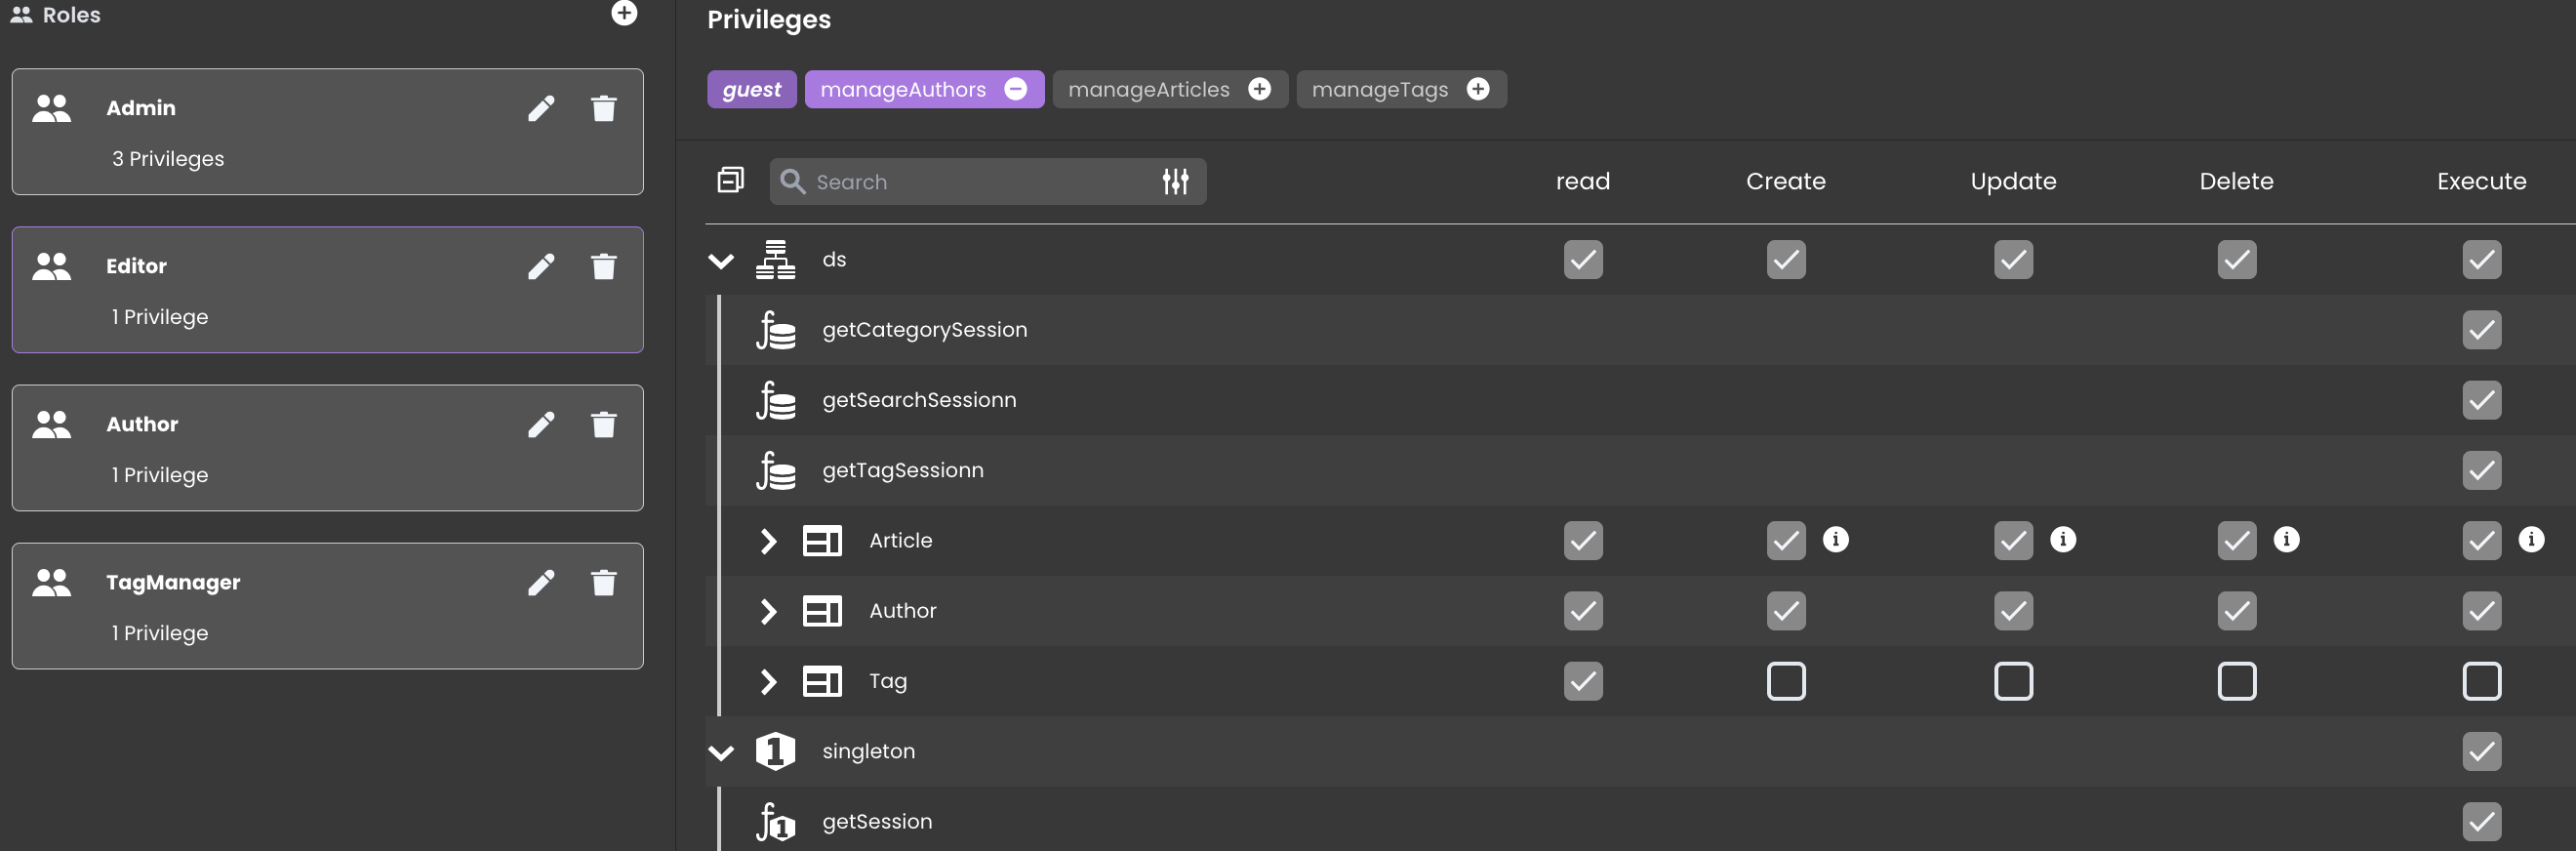
When a role is selected in the Roles & Privileges editor, a detailed permission review is displayed to provide insight into the final permissions resolution for that specific role. This feature helps developers fine-tune privileges more effectively by showing the impact of privilege configurations.
This review is available on roles only, by design: roles are the recommended way to give access, so the effective permissions are shown where they apply. The review is computed from the role's privileges plus guest.
-
Comprehensive Permission Listing: Lists all application code assets, including: Dataclasses, Attributes, Functions, Singletons and Singleton functions.
-
Organized and Alphabetical Grouping: Listed assets are grouped and sorted alphabetically as follows:
- Datastore (ds)
- Datastore Functions
- Dataclasses
- Attributes
- Dataclass Functions
- Entity Functions
- Entity Selection Functions
- Singletons
- Singleton Functions
-
Permission Columns: For each asset, the following columns display resolved permissions: Read, Create, Update, Delete and Execute. The ds row shows the permissions defined on the datastore, not a summary of the dataclasses below (expand the row to see them).
A grey tick  indicates that the permission is granted.
If the access is granted through promoted privileges, an info indicator  is provided.
An empty checkbox  indicates that the permission is not granted.
To see what a session without role can do (before login, i.e. guest only), create a role with no privilege and look at its review.
Adding Roles
To add a role:
- Open the
ExplorerPanel. - Navigate to the
Roles and Privilegessection. - Click on the
Rolestab to access role management. - To create a new role, click on the
+button next to Roles.
- Enter the name of the role in the creation dialog box and click Create or Cancel.
To edit or delete a role:
- Select a role in the list.
- Click on the
pencilicon to rename it, or on thetrashicon to remove it.
Renaming updates every reference; deleting asks for confirmation and removes the privilege from roles, inclusions and permissions.
In a back-office travel agency solution, you might create roles such as:
| Roles | Description |
|---|---|
| Agent | Reserves and customizes travel packages for clients. |
| Content Manager | Manages website content, including creating and updating travel packages. |
| Sales Manager | Manages customer bookings, views sales reports, and generates invoices. |
Privileges: Enabling Controlled Access
Understanding Privileges
Privileges define the specific permissions that users of different roles can perform. By assigning privileges to roles, you determine the extent of a user's access to data and functionalities.
Adding Privileges
To add a privilege:
- Open the
ExplorerPanel. - Navigate to the
Roles and Privilegessection. - Click on the
Privilegestab to access privileges management. - Click on the
+button to create a new privilege. - Enter the name of the privilege in the creation dialog box and click Create or Cancel.
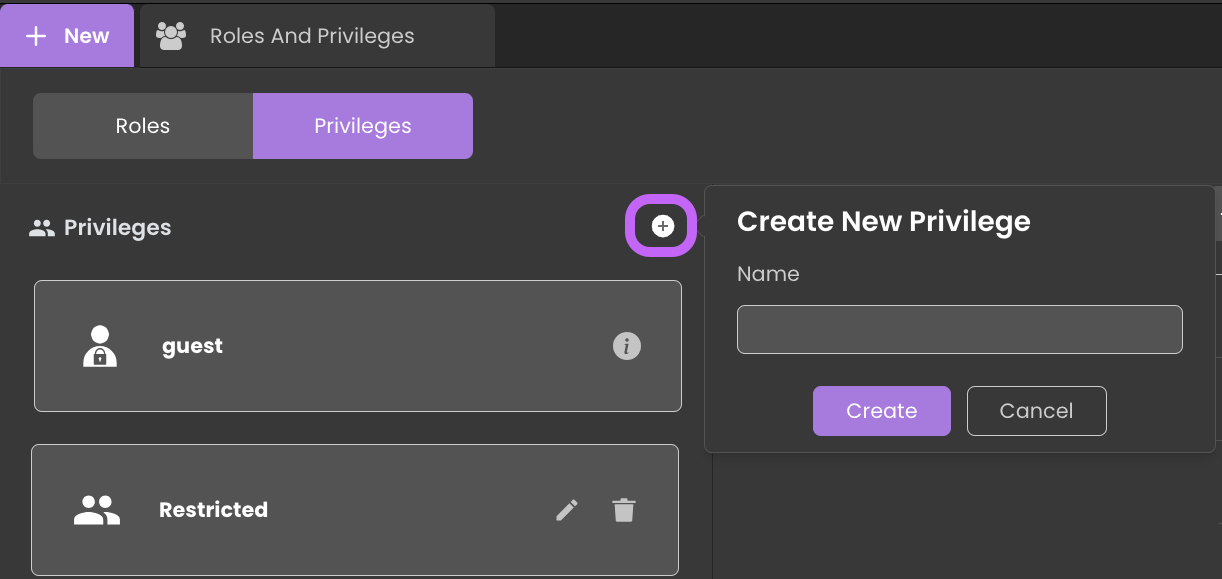
Guest
The guest privilege is always present. It cannot be renamed, deleted or included. See the 4D documentation for more information on the guest privilege.
In a back-office travel agency solution, you might create privileges such as:
| Privileges | Description |
|---|---|
| ManageReports | Access to sales reports and statistical data. |
| ManageBookings | Manage customer bookings, verify reservations, and generate invoices. |
| ManageContent | Access and manage the travel agency's online content. |
Privileges Contextual Panel
The contextual panel of privileges provides a clear visual representation of privilege relationships, making it easier to navigate and manage permissions efficiently.
When a privilege is selected from the list of privileges, the contextual panel updates to reflect the selection:
-
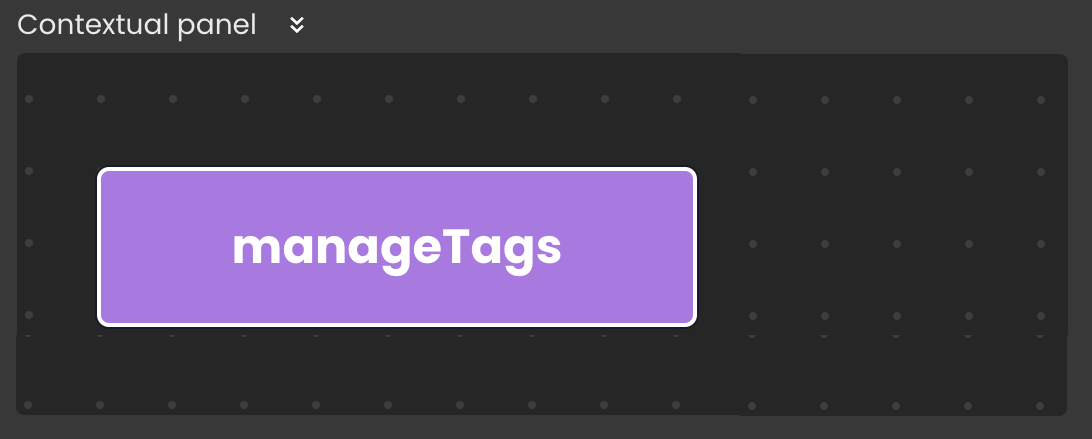
Standalone Privileges: If a privilege does not include another privilege (e.g., manageTags) and is not included by another privilege, it is displayed alone in the contextual panel.
-
Include Privileges: If a privilege includes another privilege (e.g., manageAuthors, which includes manageArticles) or is included by another privilege, the contextual panel will display a link between privileges.
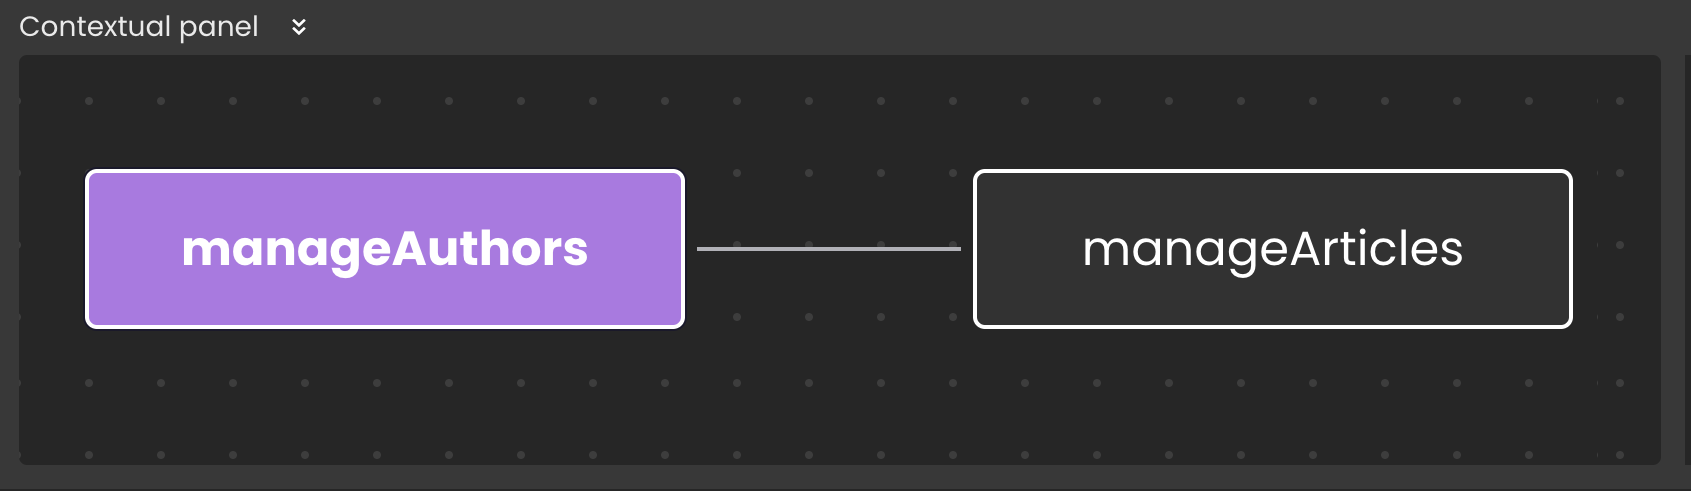
In the contextual panel, the currently selected privilege is highlighted with a purple background and is the one whose permissions table is currently displayed.
You can click on another privilege within the contextual panel to switch to that privilege, making it the newly selected one.
Interplay Between Roles and Privileges
Achieving the optimal synchronization of roles and privileges ensures seamless task execution for users while maintaining robust data security.
To assign one or multiple privileges to a role:
-
Navigate to the
Rolestab within theRoles and Privilegessection. -
Select the desired role (e.g.,
Sales Manager). -
Locate the privileges section on the top.
- In this section, you'll find a comprehensive list of available privileges.
guestis shown selected (italic) on every role and cannot be removed; it is not written in the role
-
To assign a privilege, click the
+icon. -
To remove a privilege, simply click the
-icon.

For instance, a Sales Manager role might possess privileges like ManageBookings and ViewReports, granting them the ability to analyze booking trends and monitor revenue for informed decision-making. Similarly, a Content Manager role could receive the privilege ManageContent.
Assigning Roles and Privileges
Roles are assigned to user sessions using the Session.setPrivileges() function of the 4D.Session class.
It is recommended to assign roles rather than privileges: you define one role per user profile, assigned to the session. Although 4D allows you to assign privileges directly, this should be the exception. A privilege is merely a building block; it is the role that describes what a user can do.
Roles and privileges JSON Representation
Roles and privileges are stored in dedicated file named roles.json. See the 4D documentation for more information about this file.
This representation can be accessed through a text editor by selecting the Roles and privileges in the Explorer and choosing Open With a Text Editor.

This allows you to view, copy, or edit the JSON representation.
Exercise caution when editing the JSON representation. The syntax checker does not validate whether attribute names match the expected ones or if there are issues with attribute names. Always ensure you have a backup before making changes.