Installation
Welcome to 4D! On this page, you will find all of the necessary information about installing and launching your 4D product.
Required configuration
The Product Download page on the 4D website provides information about the minimum macOS / Windows system requirements for your 4D series.
Additional technical details are available on the 4D website's Resources page.
Installation on disk
4D products are installed from the 4D website:
-
Connect to the 4D website and go to the Downloads page.
-
Click on the download link for your 4D product and follow the on-screen instructions.
Sign in
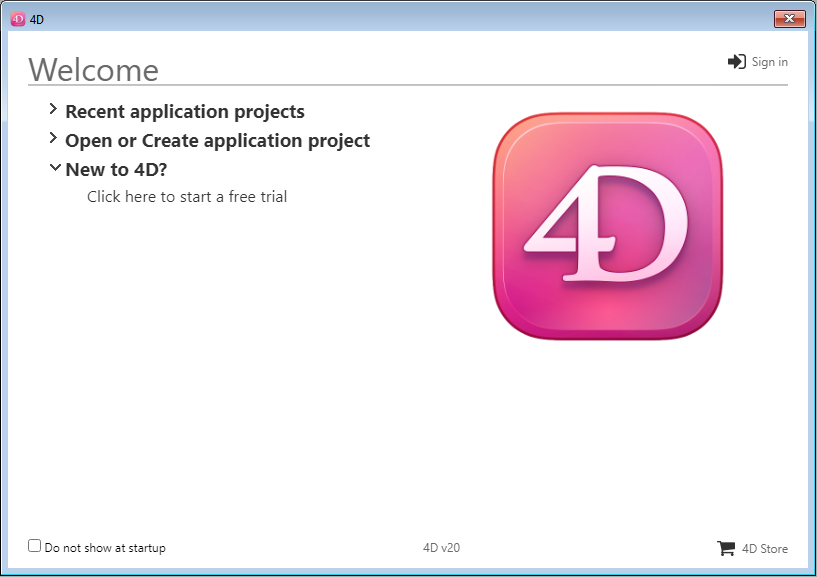
Once you have completed the installation, you can start 4D and sign in. To do so, double-click on the 4D product icon.
The Welcome Wizard then appears:

-
If you want to discover and explore 4D, click on the free trial link. You will only be asked to sign in or to create a 4D account.
-
If you already have a 4D account, click on the Sign in link in the upper right side of the Welcome Wizard dialog and enter your account information. Any already registered 4D licenses are automatically updated (or additional expansion packs loaded) on your machine.
Expand the Open or create project application area and select the action you want to perform:
-
Connect to 4D Server - use 4D as a remote client and connect to an application that is already loaded by 4D Server.
-
Open a local application project - load an existing application project stored on your disk.
-
Create a new application project - create a new, empty application project on your disk.
Enjoy your 4D experience!
Need to activate specific licenses? Visit the Managing 4D licenses page.