App Contact
OBJECTIVES
Create your first app with 4D for iOS PREREQUISITES
Click here to see what you'll need to get started!
This tutorial will let you dive right into 4D for iOS development. It will allow you to quickly and easily create your first application.
Scenario: You're a commercial business manager and you want to consult your contact information on the go.
We're going to create an iPhone directory app to search for contact names from a list and then view the details of each contact. We'll call it "Contact".
SCHRITT 1. Einsteigen
Download our Starter Project, which contains a database file and project icon, but no mobile project yet.
SCHRITT 2. Projekt erstellen
Let's start with a very simple structure using a single table. From 4D, go to New > Mobile project.
Give your project a name and click Create.
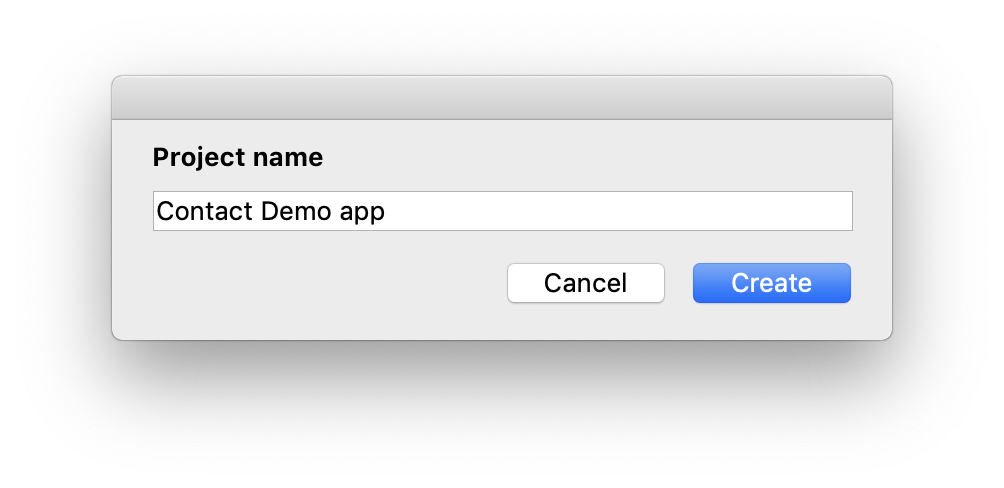
SCHRITT 3. Den Projekt-Editor öffnen
Welcome to 4D for iOS! The Welcome screen displays the main app-creation stages of this magnificent tool. 🙂
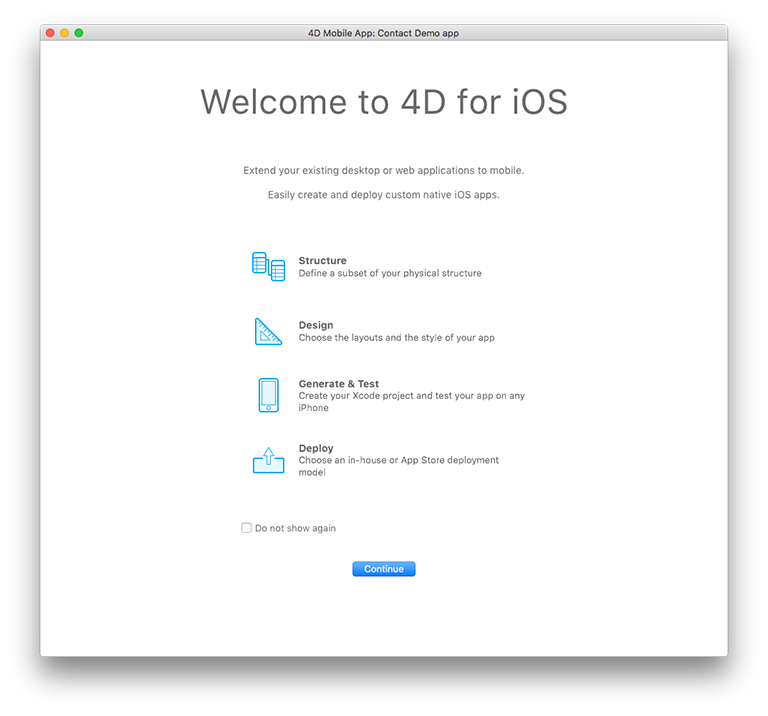
Click Continue.
SCHRITT 4. Sections - General
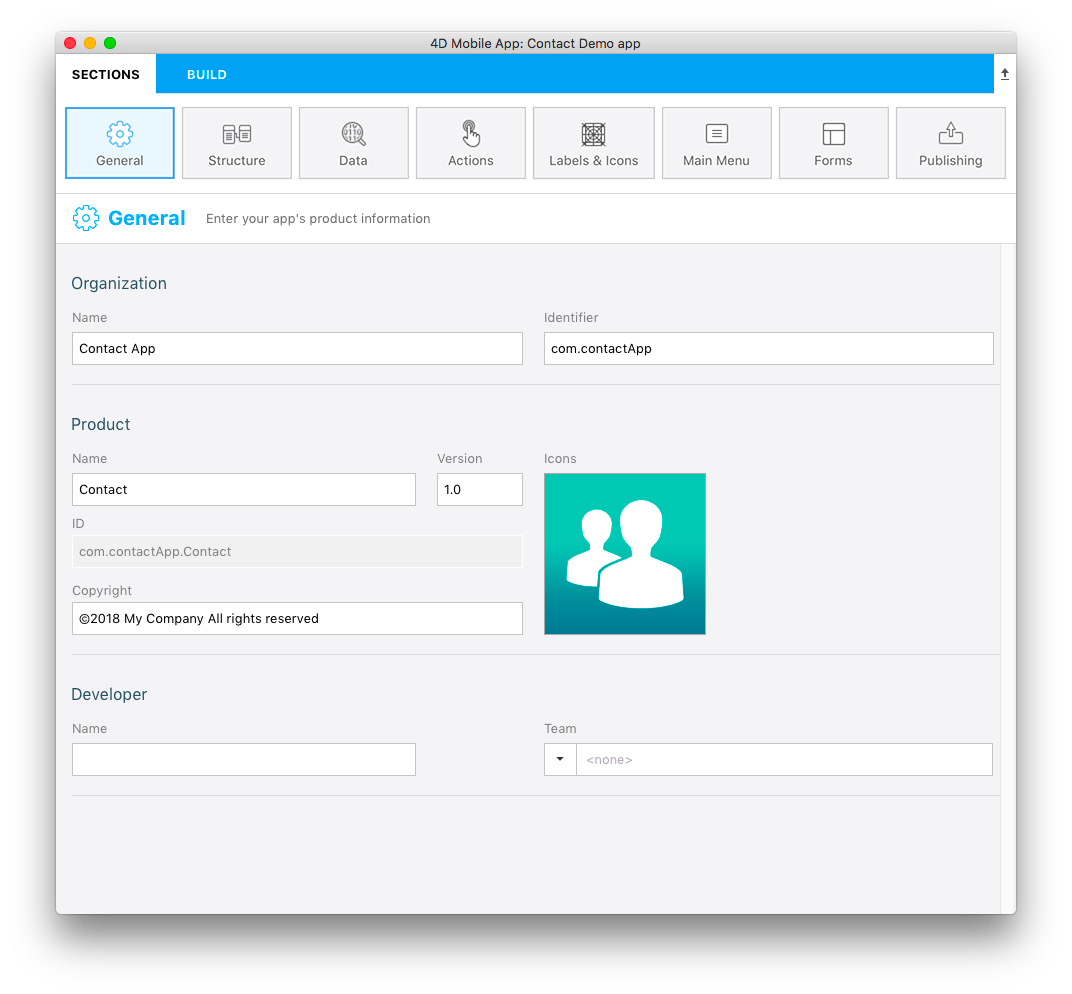
Here, you'll configure your app's primary information:
- Organization: Enter the name of your company and the application's identifier (ex. “My Company” and com.MyCompany).
- Product: Enter your app's name. Wir nennen sie "Contact".
- ID: (Bundle ID) is automatically generated as a composition of your organization identifier and product name.
- Version: Leave the version as 1.0 and define your app's copyright. Es wird dringend empfohlen, die von 4D for iOS zur Verfügung gestellten Formate zu verwenden.
- Icons: Drag and drop an icon for your app into the icon area.
- Developer: This is automatically filled from the user name on your computer. Setzen Sie die Referenz des Entwicklerteams (aus Ihrem Developer Account) per Copy/Paste in das Feld Team ein. Sie können es auch leer lassen, um Ihre Anwendung nur auf dem Simulator zu erstellen.
SCHRITT 5. Sections - Structure
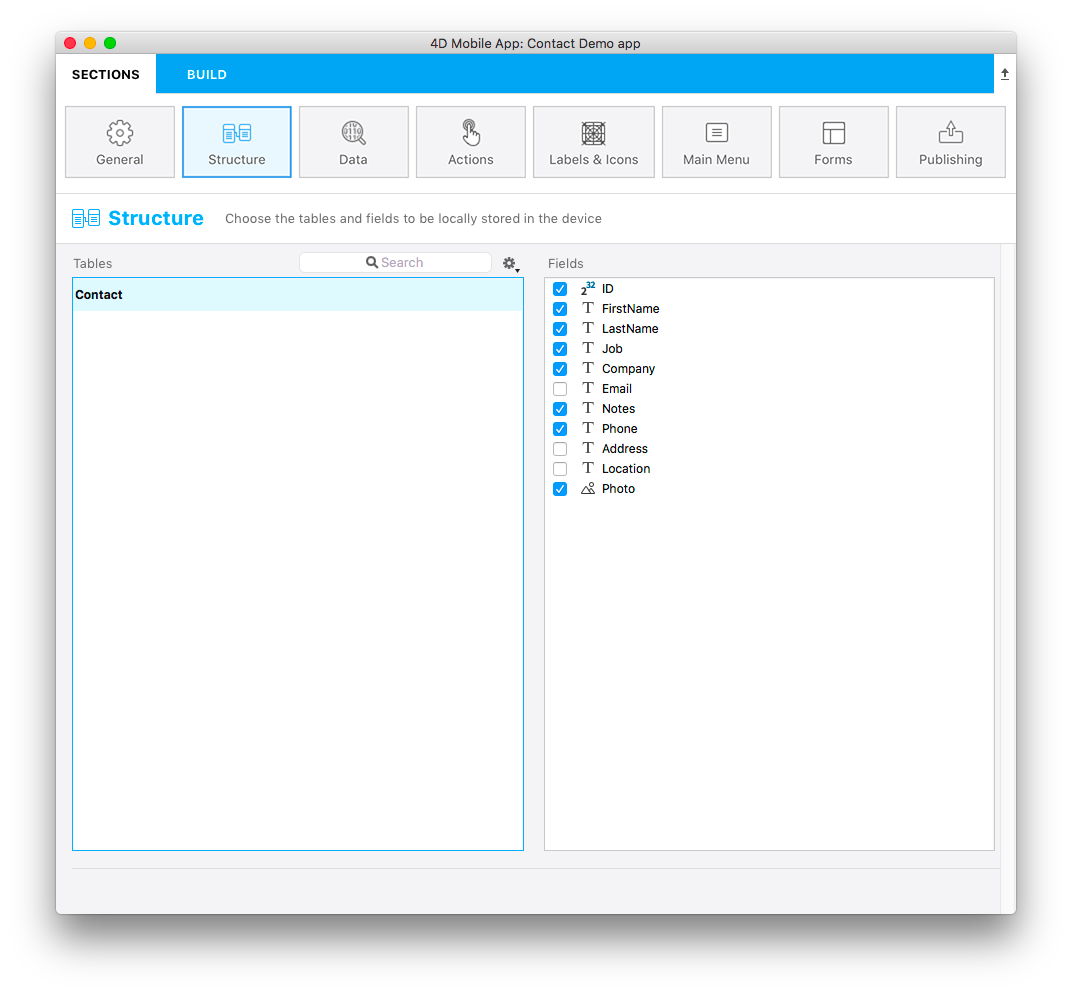
This is where you'll define a subset of your data (the database tables and fields) to expose to mobile devices.
For our example, select ID, First Name, Last Name, Job, Company, Phone, Notes and Photo.
HINWEIS
We highly recommend publishing your primary key in order to identify each record of your database
SCHRITT 6. Sections - Labels & Icons
Now it's time to define some labels and icons for the selected tables and fields.
Table Properties:
- Definieren Sie eine kurze und eine lange Bezeichnung für Ihre Tabelle Contact
- Klicken Sie auf das Icon für Feld. Die Icon-Bibliothek erscheint und Sie können ein Icon auswählen, um die Tabelle Contacts zu illustrieren. Sie können den Bereich Icons auch leer lassen. 4D for iOS generiert ein Standardsymbol für Sie!
Field Properties:
- Definieren Sie eine kurze und eine lange Bezeichnung für Ihre ausgewählten Felder.
- Klicken Sie in die Spalte Icon und wählen Icons für jedes Feld. Es gibt verschiedene Optionen für Feld-Icons:
- Sie können für jedes Feld ein Icon auswählen
- Wurde mindestens ein Icon definiert und bleiben andere Felder leer, generiert 4D for iOS standardmäßige Icons für Sie
- Sie können diese einfach leer lassen, um keine Feld-Icons anzuzeigen.
![]()
SCHRITT 7. Sections - Main Menu
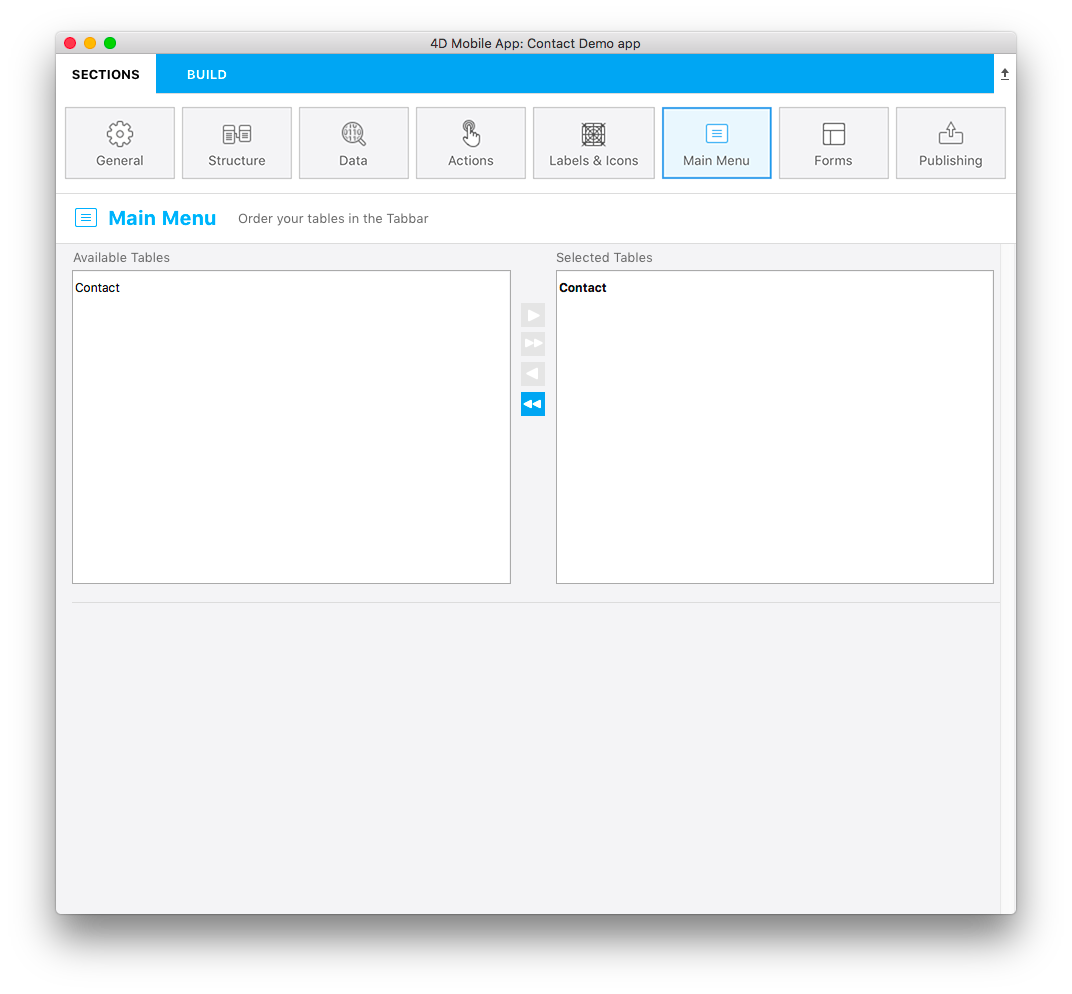
Next up is defining the order of the tables in the app's main menu.
- Available Tables: Displays the table(s) to be used.
- Selected Tables: Displays your app's menu items. Unser Beispiel hat nur ein Element. Bei mehreren Elementen können Sie diese per Drag-and-Drop anders anordnen.
SCHRITT 8. Sections - Forms
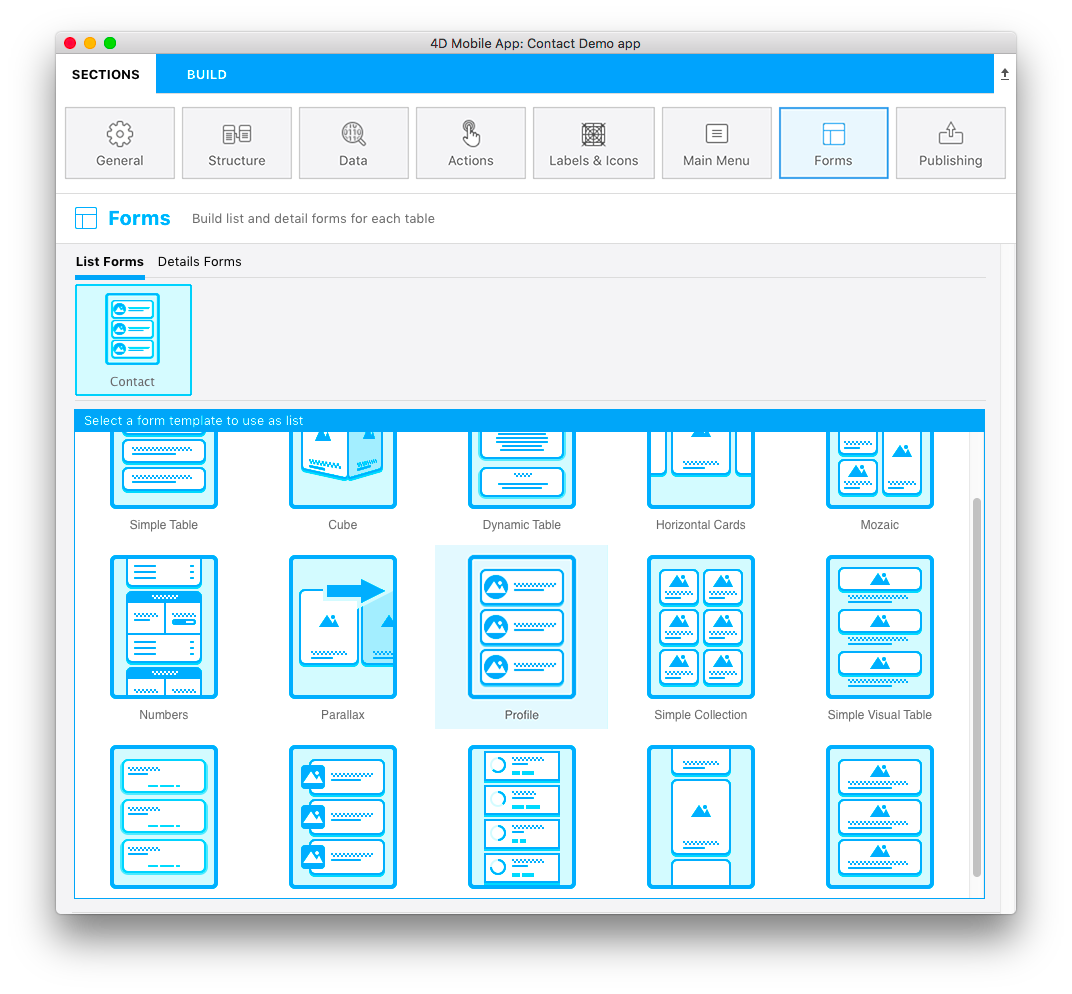
We're almost done, but first we need to decide on the app's layout. There are both List and Details forms to choose from.
- Wählen Sie eine Formularvorlage Liste, um Ihre Tabelle als Liste anzuzeigen. For our Contact app, let’s use the Profile template.
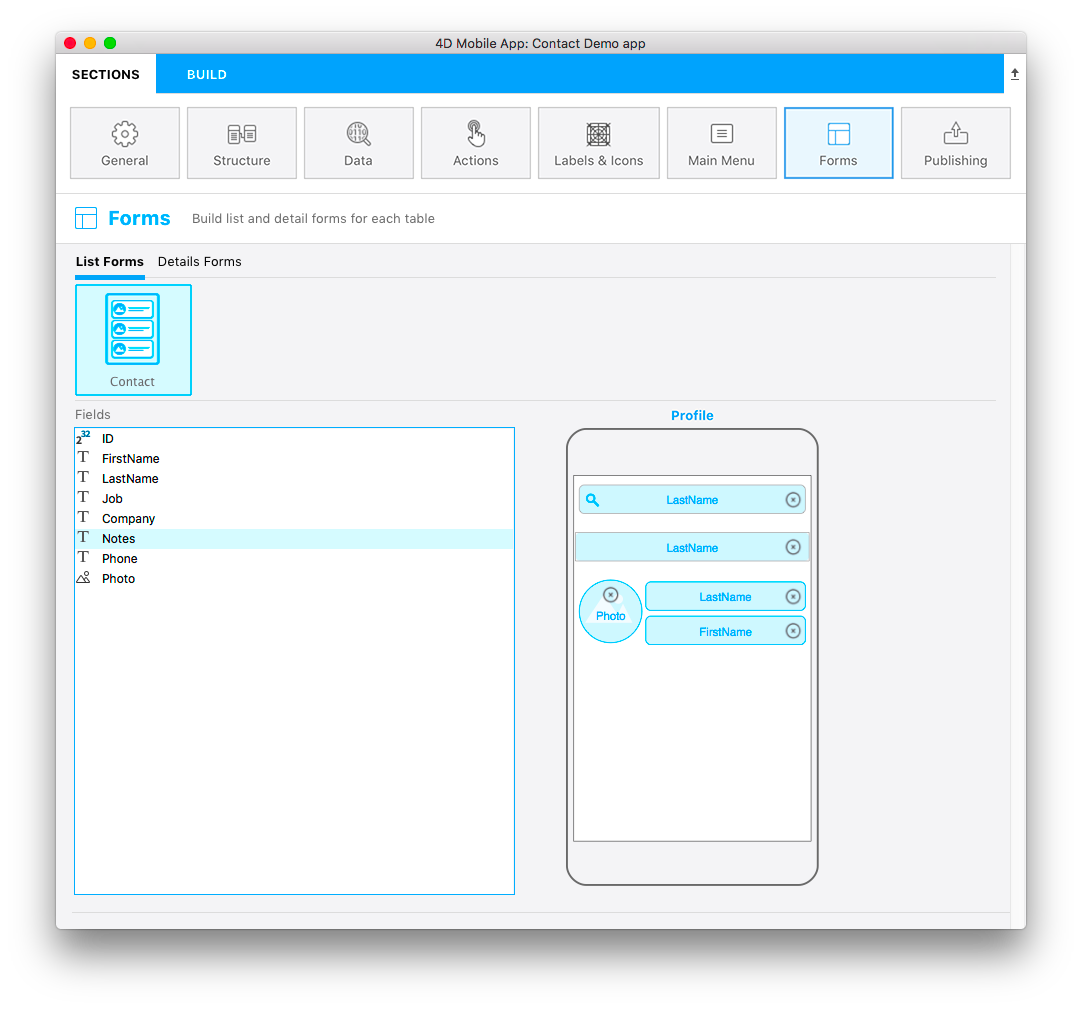
At this point, the bottom of the configuration window has changed from template selection to content definition.
- Drag and drop the fields you want displayed onto the template, i.e., Last Name into the search and Title fields. Die Felder Search und Section sind optional, lassen Sie das Feld Section vorerst leer.
And finally, we'll define the detail form.
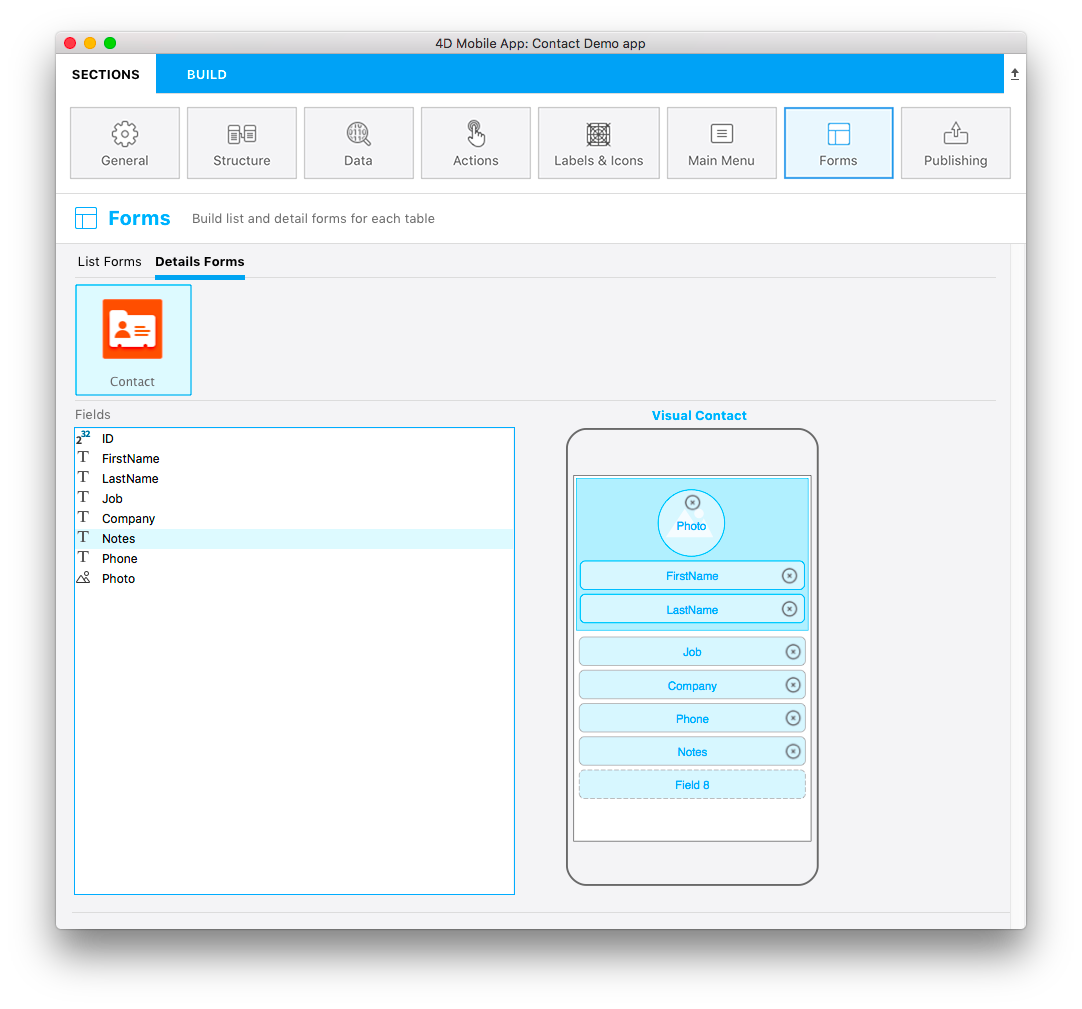
- Select a template that is best suited for your app. For our Contact app, let’s use the Visual Contacttemplate.
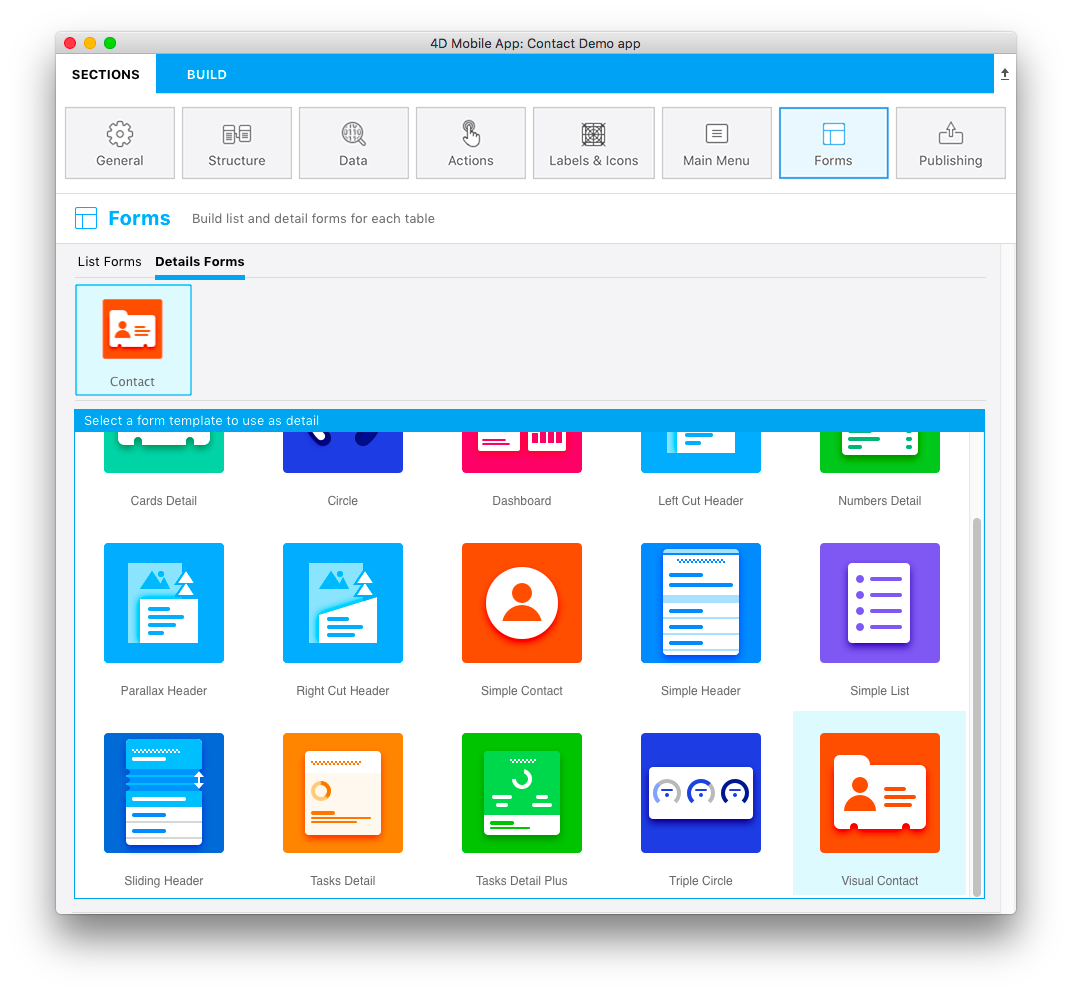
- Drag and drop the content onto the appropriate places on the detail form template, i.e., First Name, Last Name, and Photo.
SCHRITT 9. Die App erstellen
Now the fun part! It's time to build your app and test it on the Simulator to see the final result!
- Click the Build tab.
- Wählen Sie ein Gerät aus, das als Simulator dienen soll. Dazu klicken Sie auf den Button device.
- Click Build and Run.
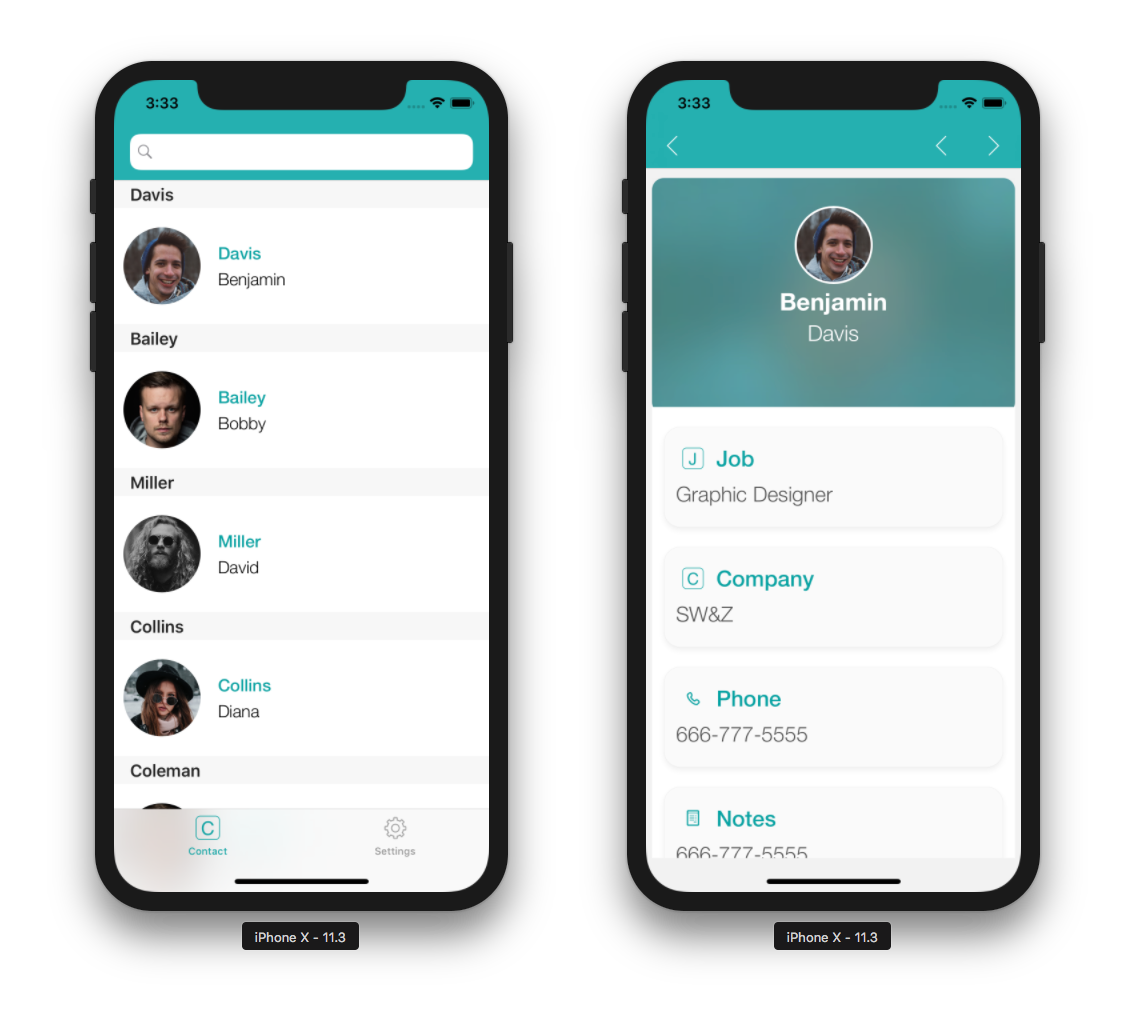
- Warten Sie ein paar Sekunden und …. siehe da! Ihre iOS App ist live!
SCHRITT 10. Wie geht es weiter?
We've covered basic app creation in this tutorial, and you should now be able to create simple apps on your own. But wait - there’s more! In the next tutorial, you’ll learn how to build an even more complex app. Click on Final Project below to download the final Contact app.